
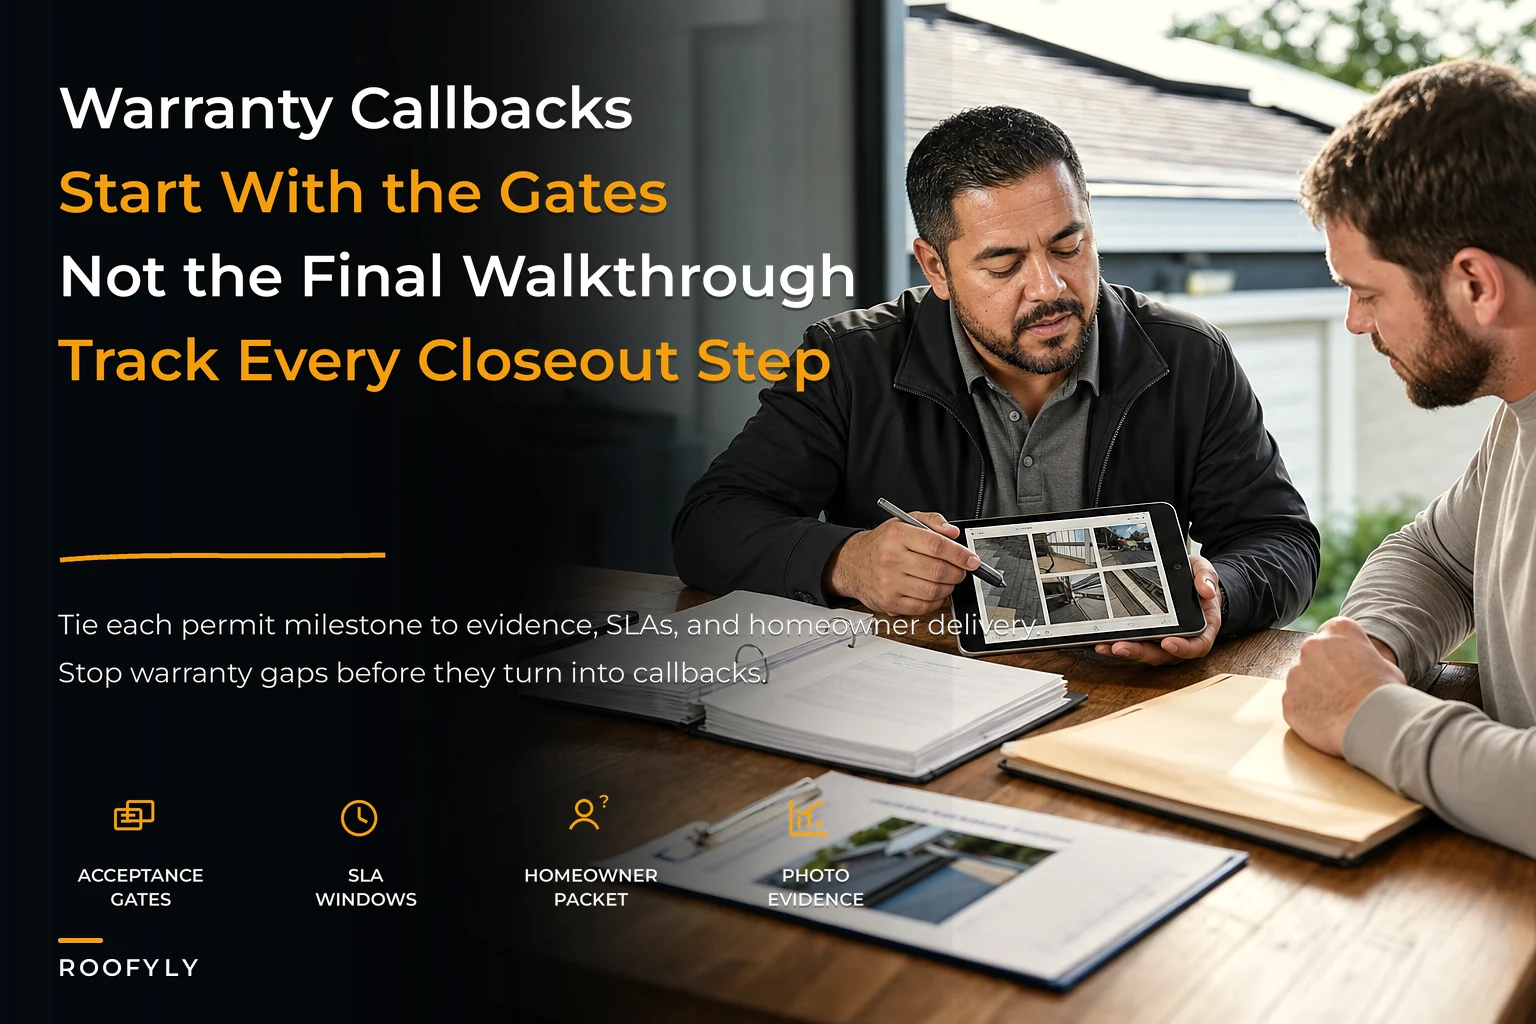

Most roofing contractors treat warranties like an afterthought. Install the roof, hand over some manufacturer paperwork, maybe snap a few photos, done. Then six months later the homeowner calls about a leak near the chimney flashing, and suddenly you're digging through text messages trying to figure out what got installed, who signed off on it, and whether that area even falls under your workmanship coverage.
The real problem isn't the callback itself. It's that there was never a system connecting the initial permit pull to that warranty claim six months down the road. Without that connection, every warranty issue becomes a fire drill that eats profit and damages your reputation.
Why warranty systems fail before they even start
The typical roofing warranty lifecycle goes something like this: sales promises a warranty, the crew does the work, the office sends generic manufacturer paperwork, the homeowner files it away (or doesn't), and everyone hopes nothing goes wrong. When something does go wrong, you're playing detective across disconnected spreadsheets, photo folders, and half-remembered job details.
The breakdown usually starts at permit filing. Your permit application lists specific work scope and materials. Your crew installs based on the work order, which might differ slightly from the permit. Final inspection passes based on what the inspector sees that day. Your warranty documentation references manufacturer specs that nobody cross-checked against what was actually installed. Each step creates a gap where critical information falls through.
One contractor I worked with found this out the hard way when a homeowner filed a warranty claim for ponding water on a low-slope section. The original permit specified modified bitumen. The crew installed TPO because of a supply issue. The change order existed somewhere in email. The manufacturer warranty covered TPO but with different installation requirements than mod bit. The photos showed the finished roof but not the specific low-slope detail causing the problem. The homeowner's warranty packet referenced the original mod bit specs. Sorting out coverage took three weeks and cost them the relationship.
The acceptance gate system most contractors miss
Every roofing project has natural checkpoints where you should be capturing and validating warranty-critical information. Not just taking photos — creating documented acceptance gates that connect each phase to your warranty obligations.
Keep every roofing job on track and on time.
Roofyly helps you manage, schedule, and communicate every roofing project with precision and ease.
- Centralized project planning
- Real-time crew notifications
- Integrated scheduling & client updates
No credit card required
Start with permit approval. Your permit isn't just permission to work — it's your first warranty artifact. The approved scope, materials list, and any special conditions become the baseline for everything that follows. Any variance between permit and actual installation needs to be documented immediately, not months later when a claim arrives.
The pre-installation gate captures existing conditions that affect warranty coverage. That means photographing not just the old roof, but specific areas where warranty exclusions might apply — existing ventilation issues, structural concerns, areas of previous repair. These photos become your defense when a pre-existing condition causes problems later.
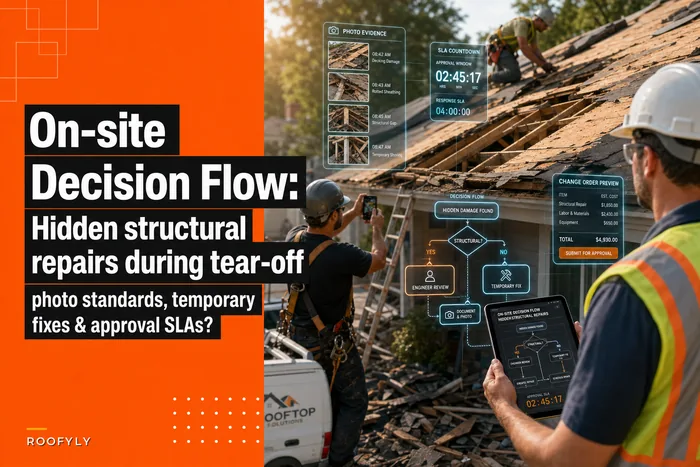
During tear-off, you hit the structural verification gate. This is where hidden repairs emerge that need immediate documentation and approval decisions. Every piece of damaged decking, every rafter requiring reinforcement, every deviation from expected conditions needs photo evidence and written acknowledgment. Not because you're trying to upcharge, but because these discoveries directly impact warranty coverage and exclusions.
Installation checkpoints happen at critical assemblies — underlayment installation, ice and water shield placement, flashing details, ventilation components. Each checkpoint needs three things: timestamped photos showing the work meets manufacturer specs, notation of any field modifications, and identification of the installer responsible for that assembly. When a leak appears eight months later at a pipe boot, you need to know exactly how that boot was installed, by whom, and whether it matched the manufacturer's detail.
Building SLA windows that actually protect your business
Warranty SLAs aren't just about response times. They're about defining what constitutes a warranty issue versus normal wear, emergency versus routine service, and covered versus billable work. Most contractors promise vague "prompt response" without defining what that means operationally.
Your warranty SLA should spell out specific response windows based on issue severity. Active leaks during rain might warrant a 4-hour emergency response. Cosmetic concerns might allow 5-7 business days. The critical part is defining what triggers each response level and what documentation the homeowner must provide to initiate a claim.
A clear SLA prevents the Friday afternoon call claiming "emergency leak" that turns out to be condensation from a bathroom vent. It also protects you from genuine emergencies going unreported until extensive damage occurs. One operation had been treating every warranty call as same-day priority, burning through profit on windshield time and rushed diagnostics. After implementing tiered SLAs with clear triggering conditions, warranty response costs dropped by roughly 40% while customer satisfaction actually improved — because expectations were finally clear.
The SLA should also define investigation and resolution timelines. Initial response within 24-48 hours for non-emergencies. On-site inspection within 5 business days. Written determination of coverage within 48 hours of inspection. Repair scheduling within 10 business days for covered items. Each timeline creates a checkpoint where you're collecting information, making documented decisions, and managing homeowner expectations.
The photo evidence framework that eliminates disputes
Random job photos aren't warranty documentation. You need a structured framework that captures what actually matters for warranty validation — specific shots of specific details at specific project phases, not just "progress photos" that look good on Instagram.
Pre-installation photos need to show existing conditions with enough detail to identify potential problem areas. Wide shots for context, close-ups of any damage or wear, and specific attention to areas where new work interfaces with existing structures. Include something for scale — a tape measure, level, or even a standard shingle — so dimensions are clear.
During installation, photograph each layer of the roofing system. Deck condition after tear-off. Drip edge and starter strip installation. Underlayment overlap and seal. Ice and water shield placement. Step flashing and counter-flashing details. Ridge vent cutting and installation. One thing most crews skip — photograph the manufacturer labels on materials, batch numbers visible. When warranty claims come in, you need to prove you installed the specific products covered under the warranty.
Critical detail photos need multiple angles. A pipe boot isn't just one photo of the finished boot — it's the pipe condition before installation, the boot placement and seal, the shingle pattern around it, and the sealant application. Same for skylights, chimneys, walls, and valleys. These high-failure areas need documentation that shows proper installation technique, not just that the work got done.
Post-installation photos should capture the finished system as the homeowner receives it. Overall roof views from multiple angles. Close-ups of all penetrations and flashings. Gutters and downspouts. Any areas specifically called out in the scope. These become your baseline for evaluating future warranty claims.
Creating homeowner packets that prevent confusion
The warranty packet you hand to homeowners shapes their expectations and your future service burden. Generic manufacturer warranties stuffed in a folder don't cut it. You need a structured packet that clearly explains coverage, exclusions, maintenance requirements, and claim procedures.
Start with a cover sheet summarizing what's included — not legal language, but plain English: "Your new roof includes a 10-year workmanship warranty from [Company Name] and a 30-year material warranty from [Manufacturer]. This packet contains everything you need to know about coverage, maintenance, and how to request service."
Include a warranty snapshot table showing exactly what's covered:
| Component | Coverage Period | What's Covered | What's Not |
|---|---|---|---|
| Shingles | 30 years (manufacturer) | Defects, premature failure | Storm damage, foot traffic damage |
| Workmanship | 10 years (contractor) | Installation defects, leaks from improper installation | Normal wear, storm damage |
| Flashings | 10 years (contractor) | Leaks at flashings we installed | Caulking maintenance, storm loosening |
| Ventilation | 5 years (contractor) | Defects in installation | Screen cleaning, pest damage |
The maintenance requirements section needs to be specific and actionable. Not "maintain your roof properly" but "inspect and clear gutters twice yearly (spring and fall), check for loose flashings after severe storms, trim tree branches within 6 feet of roof surface." Include a simple maintenance log they can fill out. That record protects both parties.
Your claim procedure should walk through exactly how to report issues — what information to gather (photos, description, when the issue occurs), who to contact (specific email or phone number for warranty claims, not the general office line), and what to expect (response timeline, inspection process, determination procedure). Include a simple claim form they can complete upfront to cut down on back-and-forth phone calls.
The permit-to-closeout workflow that scales
A warranty system that works for five jobs won't hold up at fifty. You need workflows that capture critical information without adding overhead or slowing down operations.
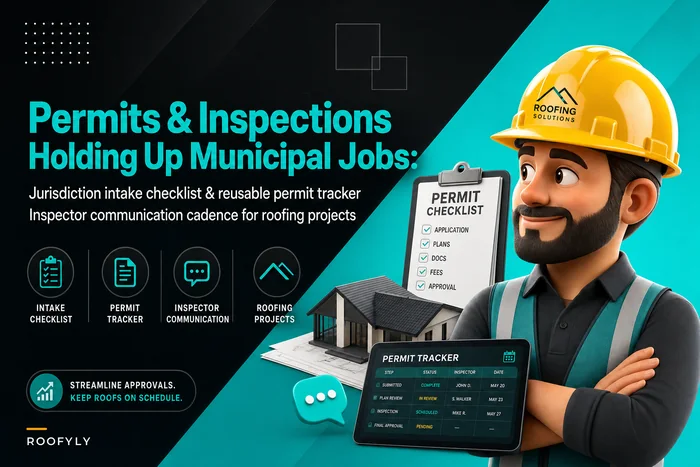
The permit and inspection management systems you use should feed directly into warranty documentation. When permits get approved, that scope becomes the warranty baseline. When inspections require corrections, those corrections become warranty amendments. When final inspection passes, that approval date starts your warranty clock.
-
Permit approval recorded — scope and materials list locked as warranty baseline
-
Pre-installation conditions documented at acceptance gate
-
Tear-off and structural findings captured with photos and homeowner sign-off
-
Installation checkpoints completed at each critical assembly
-
Material batch numbers and manufacturer labels photographed and filed
-
Final QC pass against warranty-risk checklist before closeout
-
Homeowner packet delivered and acknowledgment signed
-
Warranty registration submitted to manufacturer with project documentation attached
That sequence — from permit to final registration — is essentially the backbone of a repeatable warranty system. Each step feeds into the next, which is what makes it scalable.
Visualize the permit-to-warranty flow:
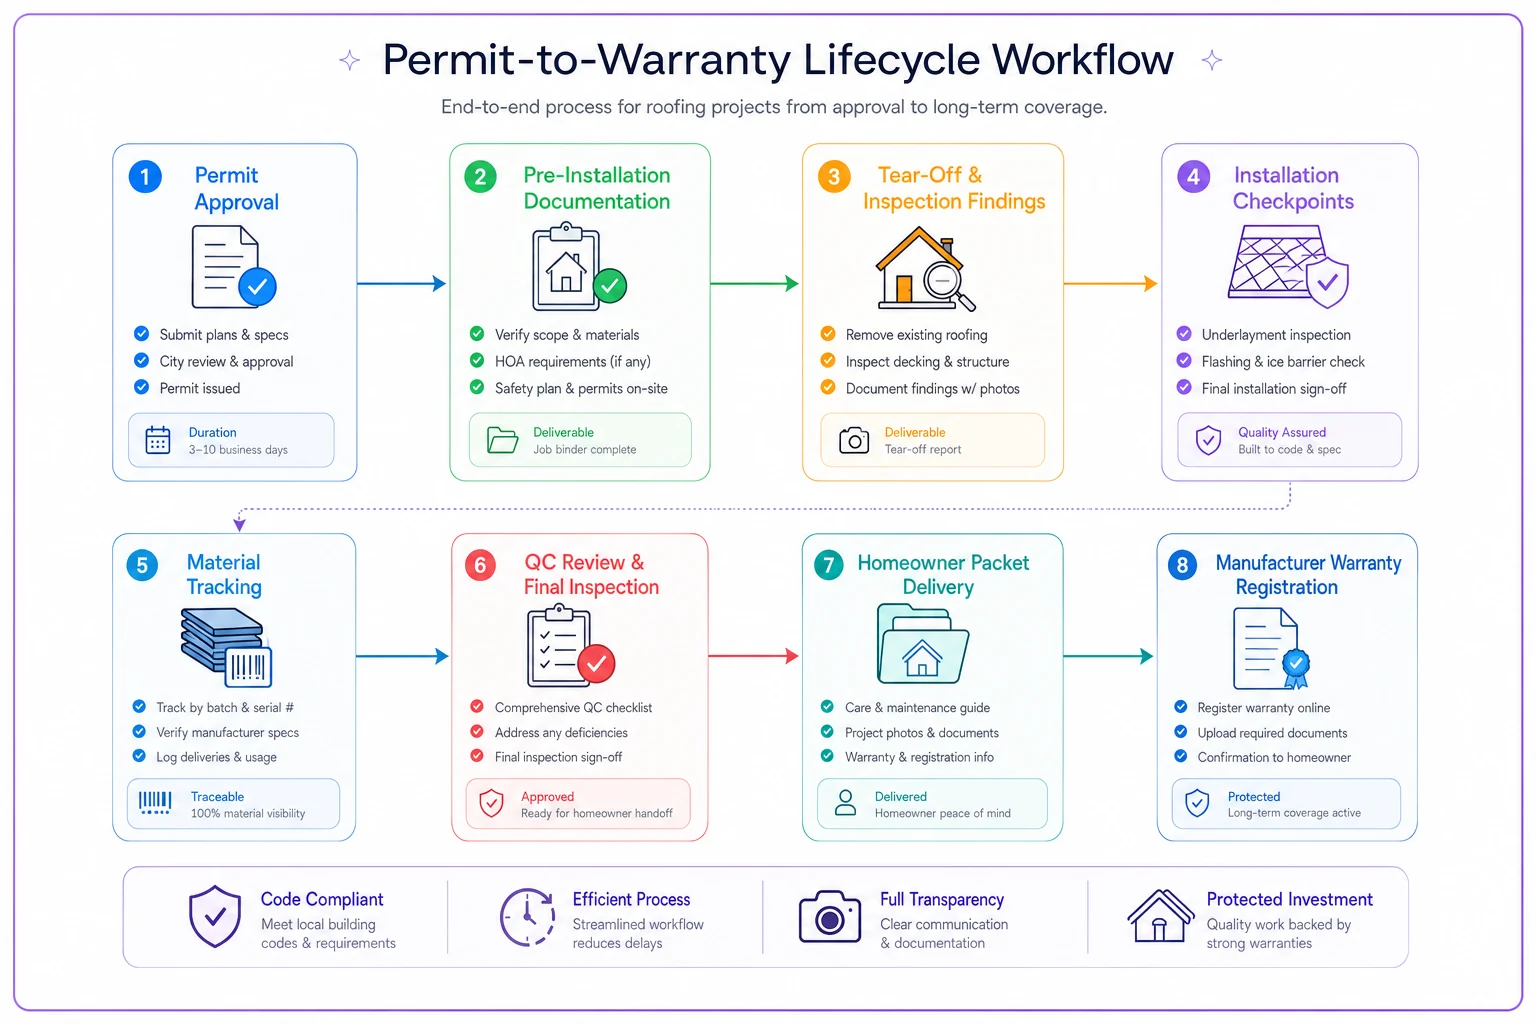
Material receiving and installation tracking connects directly to warranty coverage. When materials arrive, document manufacturer, product line, batch numbers, and warranty registration requirements. When installation begins, tie specific materials to specific roof sections. This level of tracking seems excessive until you're trying to determine whether a failing section used materials from a recalled batch.
Your handoff points between estimate, installation, and closeout need warranty checkpoints built in. The estimator flags special warranty considerations. The project manager ensures proper documentation during installation. The office processes warranty registration and creates homeowner packets. Each handoff carries warranty-specific information that can't be reconstructed later.
Quality control and punch list processes should specifically address warranty-risk areas — not just "roof looks good" but "all penetrations sealed per manufacturer spec, all flashings secure, all warranty-required components installed." Catching issues before closeout while crews are still mobilized costs far less than addressing them six months later as warranty claims.
Building the artifact chain that proves compliance
Every warranty claim becomes a search for evidence. Did you install it right? Did you use the correct materials? Did the homeowner maintain it properly? Without a clear artifact chain from permit to present, you're relying on memory and hoping for the best.
The artifact chain starts with your initial scope document — what you promised to do. Then permit applications and approvals — what the jurisdiction authorized. Then material orders and delivery receipts — what you actually received. Then installation photos and inspection reports — what you actually installed. Then closeout documentation — what you handed over to the homeowner. Finally, any maintenance or service records covering what happened after installation.
Each artifact needs to be findable months or years later. That means consistent naming conventions, organized storage, and clear connections between related documents. Job number 2024-0847 should pull up everything from permit application to last week's warranty inspection, not require searching through a dozen folders.
Digital systems make this easier, but even paper-based operations can build effective artifact chains. The key is treating warranty documentation as part of the job, not an afterthought. Every photo, every sign-off, every inspection report gets labeled and filed with future retrieval in mind. When a warranty claim arrives, you should be able to pull the complete story in minutes. Operations that get this right spend far less time on claims and far more time on productive work.
Turning warranty data into operational improvement
Your warranty claims tell you where operations break down. Track not just what fails, but when, where, and why. Patterns emerge that point to training gaps, material issues, or systemic problems.
If valley leaks spike 8-12 months after installation, you might have an installation technique issue. If warranty calls cluster around specific crews, you've identified a training need. If certain material batches generate disproportionate claims, that's worth escalating to the manufacturer.
Tracking needs to be systematic. A simple warranty claim database should capture:
-
Location on roof (specific area, not just address)
-
Time since installation (months)
-
Weather conditions when issue appeared
-
Root cause (installation, material, maintenance, external damage)
-
Resolution (repair method, time, cost)
-
Crew and materials involved in original installation
After accumulating even 20-30 claims, patterns become obvious. One operation found that around 60% of their warranty calls involved pipe boots installed by two specific crews. Targeted retraining on boot installation cut warranty calls by nearly half over the following season.
Tracking warranty data this way also strengthens manufacturer relationships. If a product line is generating disproportionate claims, you have documented evidence to support a warranty escalation or credit request — not just a vague complaint.
When warranty programs actually drive revenue
A well-documented warranty program isn't just about reducing callbacks — it's a sales tool. Homeowners choosing between contractors give real weight to warranty terms and their confidence that coverage will hold up when needed. Generic promises don't move the needle. Specific, documented, systematic warranty programs do.
Show prospects your warranty packet during sales presentations. Walk through the specific coverage, the clear procedures, the documented process. That transparency builds confidence in ways that a vague "we stand behind our work" pitch simply can't.
Your warranty documentation system also enables premium warranty offerings. Basic coverage comes standard. Extended coverage for additional years. Comprehensive coverage including storm damage. Maintenance packages that preserve warranty coverage. Each tier becomes a revenue opportunity — but only if you have the operational infrastructure to actually deliver on those promises.
The reputation impact compounds over time. Homeowners who experience smooth warranty claim resolution become reference customers. Their neighbors see professional handling of an issue and remember it when they need a new roof. Insurance adjusters recognize your documentation quality and process claims faster. What looked like operational overhead becomes a real competitive advantage.
Making warranty lifecycle management systematic
The gap between installation completion and warranty claim resolution doesn't have to be a black box. With clear acceptance gates, documented evidence requirements, defined SLAs, and comprehensive homeowner packets, warranty management becomes predictable and manageable.
Most contractors won't build these systems. They'll keep treating warranties as necessary evils, scrambling when claims arrive, hoping memory and luck hold out. That creates real opportunity for operations willing to take a more structured approach.
The roofing warranty lifecycle starts before the first shingle gets removed and extends years after the final inspection. Operations that acknowledge this and build systems accordingly don't just reduce warranty costs — they build reputations that support premium pricing and customer loyalty for years. The effort invested in warranty lifecycle management today is the competitive moat protecting your margins tomorrow.
The roofing warranty lifecycle starts before the first shingle gets removed and extends years after the final inspection. Operations that acknowledge this and build systems accordingly don't just reduce warranty costs — they build reputations that support premium pricing and customer loyalty for years. The effort invested in warranty lifecycle management today is the competitive moat protecting your margins tomorrow.
Ready to elevate your roofing operations?
Join hundreds of roofing contractors using Roofyly to streamline workflows, improve crew coordination, and enhance client satisfaction.